How to Publish an App on the App Store: Six Rejections and What They Taught Me
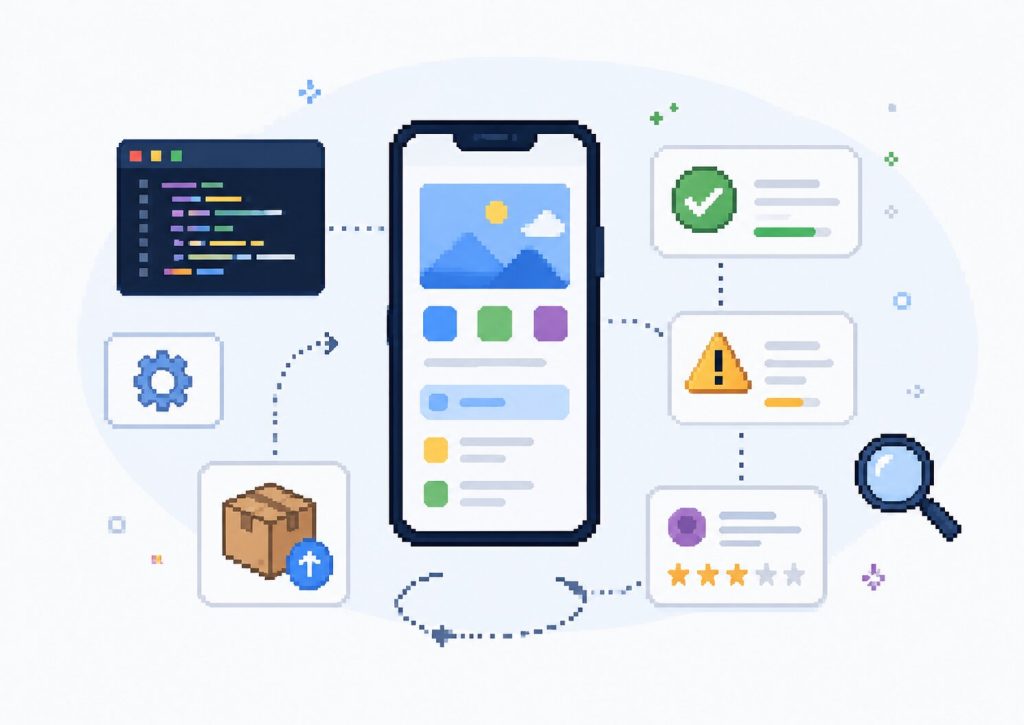
If you are preparing to publish your first iOS app, the technical process can look deceptively simple: create an Apple Developer account, build the app, upload it to App Store Connect and submit it for review.
That is technically true. It is also the least useful description of the process.
In August 2026, I published two applications built with Expo and React Native under an individual Apple Developer account: an irregular verbs training app and a children’s chess app.
Neither passed App Review on the first attempt.
Between the two applications, I received six rejections or review requests. Interestingly, not one of them was about code quality.
The problems were about metadata, configuration inherited from dependencies, layouts on devices I had not initially tested properly, support information and, most importantly, information that I had failed to give the reviewer.
That experience changed the way I now prepare mobile apps for release.
My main recommendation for a first App Store launch is simple: do not plan around a two-day review process. Allow roughly two to four weeks for the entire review cycle, including fixes, new builds and repeat reviews.
Also keep every useful response you send to App Review in your repository. You will probably use it again.
This article is based on my own App Review correspondence and releases in August 2026. Where Apple’s policies or technical requirements may change, verify them against the current App Store Review Guidelines.
Table of contents
- What to prepare before your first submission
- Rejection #1: Guideline 2.5.4 — background audio you never added
- Rejection #2: Guideline 4 — you did not test properly on iPad
- Rejection #3: Guideline 1.5 — your Support URL actually matters
- Rejections #4 and #5: Guideline 1.3 — Kids Category questionnaire
- Rejection #6: Guideline 2.1 — Apple needs more information
- Notes for App Review: an underrated field
- How I changed my release process
- Pre-submission checklist
What to prepare before your first submission
A few things that look minor before your first release can easily cost you another review cycle.
Apple Developer account and the first EAS build
I used an individual Apple Developer account, with the normal Team ID and a bundle identifier in the form:
com.company.appnameOne Expo-specific detail caught me during the initial setup.
The first iOS build through EAS needs to be started from your own terminal because Apple’s authentication flow requires a TTY for Apple ID two-factor authentication.
Once the credentials have been cached, automated builds using:
--non-interactivework normally.
Disable the encryption question when it does not apply
I also set:
ITSAppUsesNonExemptEncryption: falsein the application configuration.
Without it, I was repeatedly asked about export encryption during the build and submission process. It is a small configuration item, but eliminating unnecessary questions makes repeated releases much cleaner.
Prepare App Store screenshots properly
Screenshots deserve more attention than I originally expected.
For the 6.5-inch screenshot slot, I used:
1284×2778My workflow was to capture screenshots on a 6.9-inch simulator and resize them using a cover-style crop.
There was another Expo-specific problem: the floating Expo Go development button could appear in screenshots.
Do not discover this after capturing your entire screenshot set.
I now disable it before taking the first screenshot:
xcrun simctl spawn <sim> defaults write host.exp.Exponent EXDevMenuShowFloatingActionButton -bool falseOtherwise you may end up manually retouching every frame.
Have a real privacy policy
For these releases, the privacy policy needed to be available both through the App Store metadata and inside the application itself.
I treat this as part of the product now rather than something to prepare five minutes before submitting.
Rejection #1: Guideline 2.5.4 — background audio you never added
This was probably the most useful rejection I received.
Apple found that the app declared:
UIBackgroundModes: audiobut did not actually provide functionality that required background audio playback.
The options were straightforward: explain why the capability was necessary or remove it.
The interesting part was that I had never intentionally added background audio support.
The application used a module for audio functionality. It had been added as a config plugin using essentially a single line of configuration.
The plugin’s defaults enabled functionality I did not need, including background playback and microphone recording.
As a result, the generated Info.plist contained both:
UIBackgroundModesand:
NSMicrophoneUsageDescriptionfor an application that never recorded anything.
This led to one of the most important release rules I now keep inside the project:
never connect a config plugin as a bare string — first read its defaults in
plugin/build/*.js, pass what you actually need explicitly and inspect the generated artefact, not just your configuration.
That final point matters.
Your source configuration is not what Apple reviews. Apple reviews the application that was actually built.
I therefore added another step to my release checklist: unpack the finished IPA/AAB and search the resulting configuration for things including:
- background modes;
- microphone permissions;
- ATT/IDFA-related configuration;
AD_ID.
A dependency can change the final package without the relevant capability being obvious when you look only at your own source files.
What worked in the response to Apple
I did not try to defend a capability the app did not need.
The response was effectively: “you are right, the setting has been removed”, followed by confirmation that the new build no longer contained those keys in Info.plist.
That approach became another useful rule for me.
If Apple gives you two practical options — justify an unnecessary capability or remove it — removal is usually the cleaner solution when the capability genuinely has no product purpose.
Rejection #2: Guideline 4 — you did not test properly on iPad
The next rejection arrived with a screenshot from an iPad Air 11-inch.
The result looked bad.
The chess board was sitting relatively small in the centre while interface controls stretched across far too much horizontal space.
The important lesson was that declaring an application as iPhone-only does not mean you can ignore the way it behaves on an iPad.
Our application was effectively iPhone-only using UIDeviceFamily 1, but on modern iPadOS an iPhone application can still open in a full-size window rather than behaving like a small phone interface surrounded by a fixed frame.
A layout designed around an assumed width of approximately 390pt can therefore fall apart very quickly.
What we changed
We stopped treating the available screen width as something that should automatically be consumed by the UI.
The content columns received maximum-width constraints and were centred.
The chess board sizing calculation was changed so that it depended on both:
- the available window width; and
- the actual available vertical height.
We then deliberately tested across a wider range of layouts:
- iPhone SE;
- iPhone 17 Pro Max;
- iPad Air 11-inch;
- iPad Air 13-inch;
- iPad split view.
Give App Review numbers, not vague assurances
One thing that worked well in the reply was being specific.
Instead of:
“We fixed the responsive layout.”
we could explain that the board now scaled from 327pt to 512pt across the tested device range and that all controls remained visible.
This is useful beyond App Review.
If someone needs to verify a bug fix, give them something objectively verifiable.
A reviewer needs enough evidence to close the issue. Make that decision easy.
Rejection #3: Guideline 1.5 — your Support URL actually matters
This rejection was much simpler technically, but it still cost a review cycle.
The Support URL pointed to the application’s landing page, but the page did not contain a genuine support section.
Apple expected the URL to provide useful support information and a working way to contact us.
The fix was not complicated.
I added a dedicated section to the landing page:
#supportIt included an email address with an expected response time, plus answers to questions a real user might reasonably ask:
- How do I switch modes?
- How do I reset my progress?
- Where is my progress stored?
- What should I do if there is no sound?
- Does the application require an internet connection?
The lesson is straightforward:
Support URL is not decorative metadata. App Review may actually open it.
When I prepare an app landing page now, support content is part of the release scope from the beginning.
Rejections #4 and #5: Guideline 1.3 — the Kids Category questionnaire
The children’s chess application introduced another class of App Review interaction.
When an application is submitted in the Kids Category, Apple can ask detailed questions about data handling:
- Does the app use third-party analytics?
- Does it contain advertising?
- Does it send data to third parties?
- What other data does it collect?
Two things stood out from going through this process twice.
1. Keep the answer because you may be asked again
We received the questionnaire again after uploading a new build even though nothing related to privacy or data processing had changed.
That is why the answer now belongs in the repository rather than in someone’s App Store Connect browser history.
A useful follow-up response can say something as concrete as:
“We answered this on 6 August for build 3; nothing has changed, build 4 only changed the layout.”
Then the same detailed answer can be supplied again.
2. “No” is not a useful technical answer
The response that worked was deliberately comprehensive.
It started with a one-sentence summary:
The application collects no data, contains no analytics or advertising SDKs, and makes no network requests at all.
Then I provided a complete named list of the runtime dependencies, explaining that none of them were analytics, advertising or attribution tools.
Finally, I gave App Review a way to verify the claim:
The application works completely in aeroplane mode.
Again, the principle is to turn a statement into something testable.
Why I deliberately avoided Sentry and Crashlytics
For this children’s application, I consciously chose not to add Sentry or Crashlytics.
Those services can transmit device-related information to a third party, which creates an additional discussion I did not want for an app in the Kids Category.
Instead, I rely on opt-in reports provided through Apple and available in Xcode Organizer.
That was a product decision, not merely a submission workaround.
The Kids Category is a stricter environment: data collection, external links and advertising need to be considered before the application architecture is finished. In particular, external links need to account for the parental-gate requirement.
Our first application was declared 13+, so we did not go through the same Kids Category process. That was not a realistic option for the chess application designed specifically for children.
The important architectural lesson is therefore:
decide your intended age category before designing your external links, analytics and supporting services.
For any current policy details beyond this experience, verify the latest App Store Review Guidelines before implementation.
Rejection #6: Guideline 2.1 — “we need more information”
The largest App Review request was not really a bug report at all.
Apple wanted a structured package of information about the application.
The questions covered seven areas:
- a screen recording from a real device, beginning from application launch;
- the devices and OS versions used during testing;
- what the application does, who it is for and what problem it solves;
- how to configure the application and reach its main features, including demo credentials if applicable;
- external services, tools and platforms used by the application;
- regional differences;
- whether the application operates in a regulated industry or contains third-party protected material.
This taught me several practical things.
The response field has a 4,000-character limit
Do not write the perfect explanation and discover afterwards that it does not fit.
I now count the final response length before pasting it into App Store Connect.
Explicitly say when something does not exist
If the app does not contain:
- user accounts;
- purchases;
- user-generated content;
- permission requests;
say so explicitly.
For example:
“These scenarios are not shown in the recording because they do not exist in the application.”
Silence can easily be interpreted as “the developer did not show us that part”.
Start the recording from launch
If Apple requests a recording beginning with app launch, do exactly that.
Do not begin with the application already open on its main screen.
I treat App Review recordings as reproducible test scenarios now: launch, demonstrate the important path, show the relevant functionality and remove ambiguity.
Put the useful explanation into App Review Information permanently
Once I had written the detailed explanation, it made no sense for it to exist only inside one review reply.
I moved the useful parts into:
App Review Information → Notes
This gives the next reviewer the context before they need to ask for it.
Notes for App Review: an underrated field
I now consider App Review Notes part of the release documentation.
A large proportion of “we do not understand what this app is doing” problems can be avoided there.
I include information such as:
- no account is required;
- no initial setup is required;
- the application does not require internet access;
- how the reviewer can reach important functionality quickly;
- a recommended test flow.
The last two points were particularly important for the learning applications.
The app normally unlocks content progressively. A reviewer following the normal student journey might physically never reach half of the functionality during a short review.
So the first screen contains a shortcut equivalent to:
“I know the basics — skip the lessons”
which unlocks everything immediately.
In App Review Notes I explicitly explain that:
“sequential unlocking is intentional”
and tell the reviewer exactly how to bypass it for testing.
This does not change the real user experience. It gives the reviewer a fast route through it.
How six rejections changed my release process
The biggest improvement was not any single code fix. It was treating App Review as a repeatable engineering process.
Keep review responses in Git
I now keep reusable replies in the project, for example:
store/review-reply-1.3.md
store/review-reply-2.1.md
store/review-reply-2.5.4.md
We reused the Guideline 1.3 response almost verbatim when the questionnaire appeared again on the following build.
Count characters automatically
The App Review reply field has a 4,000-character limit.
Google Play has fields with limits such as 300 characters.
I therefore count text length before submission rather than trimming explanations manually inside browser forms.
Do not argue when the reviewer is right
Several of the most effective responses were essentially:
“You are right. This has been corrected in build 4.”
If the reviewer has identified a real configuration or UX issue, debating it usually does not improve the product.
Fix it, explain exactly what changed and provide something they can verify.
Fix multiple issues in one build
Every rejected build potentially means another review cycle.
That makes it important to avoid the pattern:
- fix one issue;
- upload;
- wait;
- discover another issue you already knew about;
- upload again.
For example, we received both the design issue and the Support URL issue and closed both with the same subsequent build.
Before uploading a replacement, I now run through the entire release checklist again rather than checking only the item mentioned in the rejection.
My pre-submission App Store checklist
After these two applications, this is the minimum checklist I would use before submitting another first version.
- Inspect the built artefact. Check the generated package for unnecessary permissions, background modes, microphone configuration, ATT/IDFA-related settings and
AD_ID. - Do not trust config-plugin defaults. Read the plugin defaults in
plugin/build/*.jsand explicitly configure the behaviour you actually need. - Open the app on an iPad. Do this even if the application is intended to be iPhone-only.
- Test different screen extremes. I currently include devices such as iPhone SE, a large Pro Max iPhone, 11-inch and 13-inch iPads, and split view where relevant.
- Check the Support URL. It should contain useful support information and a working contact method.
- Complete App Review Notes. Explain whether accounts, setup and internet access are required.
- Give the reviewer a shortcut. If important functionality is normally locked behind onboarding, lessons or progression, explain how the reviewer can access it quickly.
- Prepare a screen recording from application launch. Do not start halfway through the user flow.
- Decide the age category early. Do it before designing external links, analytics and other external integrations.
- Prepare Kids Category answers in advance if applicable. Keep the complete answer and dependency list in the repository so it can be reused.
- Make the privacy policy available both in the metadata and inside the application.
- Keep previous App Review replies in Git. A good technical explanation is reusable release documentation.
- Fix all known problems before uploading the next build. Do not voluntarily create another review cycle.
Final lesson: an App Store rejection is part of the release process
Before publishing these applications, I treated App Review mainly as the final gate after development.
I no longer see it that way.
Reviewability is something you can engineer.
You can remove unnecessary capabilities from the binary. You can test layouts on devices you do not personally use. You can provide a real support page. You can give the reviewer a shortcut through progressive content. You can document exactly what data the application does and does not process. And you can give Apple an explicit, reproducible way to verify your claims.
Across my first two releases, six review issues did not mean six failures.
They produced six additions to the release checklist.
That is probably the most useful way to approach your first App Store submission as well: expect feedback, keep the answers, improve the process and assume the next build will benefit from everything you learnt on the previous one.
And when planning the release date, give yourself two to four weeks rather than assuming the first submission will be approved in two days.