How to Install Node Version Manager (NVM) with Homebrew on macOS
Modern web development often involves working with multiple projects that each require a different version of Node.js. Without a proper version manager, this can quickly become messy and frustrating. Node Version Manager (NVM) was created to solve this exact problem. With NVM, you can easily install Node.js, switch between versions, and keep your environment consistent. In this article, we’ll walk through how to install NVM on Mac with Homebrew, explore the most useful NVM commands, and answer common questions Australians search for when starting with Node.js development.
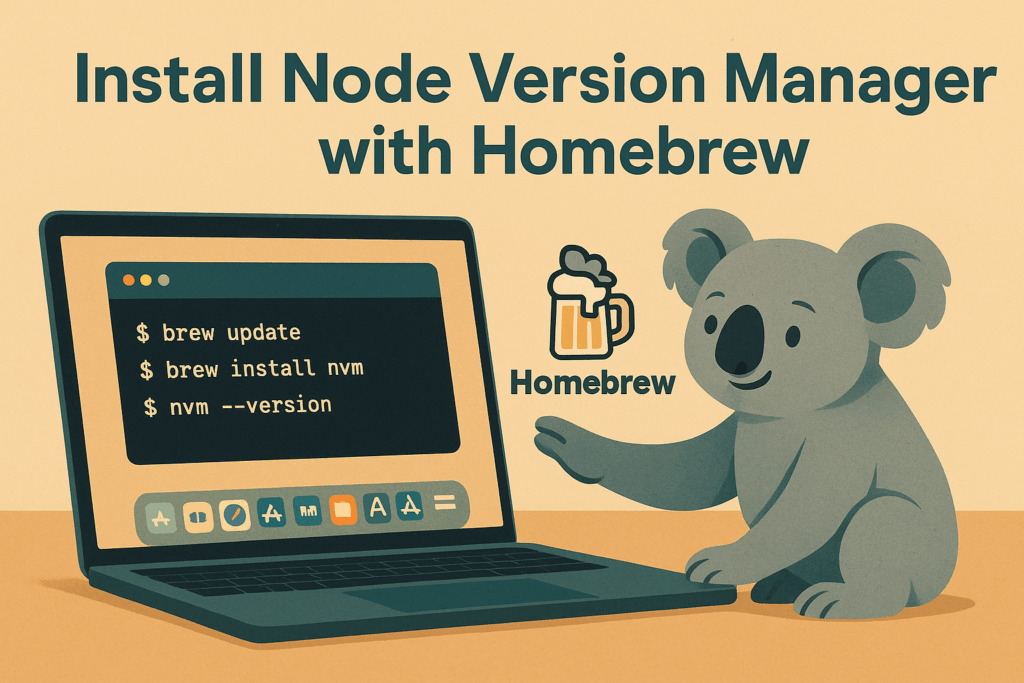
Table of Contents
- What is NVM?
- Why use Homebrew to install NVM?
- Step-by-step: Install NVM on macOS with Homebrew
- Basic NVM Commands Every Developer Should Know
- FAQ: NVM and Node.js Version Management
What is NVM?
NVM stands for Node Version Manager. It is a command-line tool that allows developers to install, manage, and switch between different versions of Node.js on the same computer. For example, one of your projects may rely on Node.js 16 while another needs Node.js 20. Instead of uninstalling and reinstalling Node.js each time, NVM makes it possible to quickly switch versions with a single command. This flexibility is especially valuable in collaborative teams and agencies across Australia, where developers may be contributing to a wide range of client projects with varying technical requirements.
Beyond just installing Node.js, NVM also makes it easier to test applications against multiple versions, ensuring compatibility and reducing the risk of unexpected errors in production. For Australian businesses working on software that integrates with government platforms, financial systems, or eCommerce solutions, using NVM helps keep development environments aligned with industry standards.
Why use Homebrew to install NVM?
Homebrew is the most popular package manager for macOS, trusted by developers across Sydney, Melbourne, Brisbane, and other tech hubs in Australia. By installing NVM via Homebrew, you benefit from a streamlined installation process, easy updates, and seamless integration with other tools. Homebrew also ensures that dependencies are properly managed, reducing the chance of configuration issues that can arise when installing software manually.
For many developers, Homebrew is already part of their workflow for installing tools like Git, Python, and Docker. Adding NVM via brew fits naturally into this workflow, making it easier to maintain a consistent and reliable development environment. The Homebrew community is also very active, which means problems are quickly documented and solved — an advantage for teams in Australia who want minimal downtime.
Step-by-step: Install NVM on macOS with Homebrew
Installing NVM on macOS using Homebrew takes only a few minutes. Follow these steps to set it up correctly:
- Update Homebrew to make sure you’re installing the latest version:
brew update - Install NVM with Homebrew:
brew install nvmThis command downloads and installs the Node Version Manager package. By default, it is placed in the/opt/homebrew/opt/nvmdirectory on Apple Silicon Macs. - Create a directory for NVM to store versions of Node.js:
mkdir ~/.nvm - Edit your shell configuration file (for example,
~/.zshrcif you use Zsh, or~/.bashrcif you use Bash) and add these lines:export NVM_DIR="$HOME/.nvm" source "$(brew --prefix nvm)/nvm.sh"This ensures that NVM is loaded every time you open a new terminal window. - Reload your terminal to apply the changes:
source ~/.zshrc
After completing these steps, you’ll have NVM installed and ready to use on your Mac. From here, you can install any Node.js version you need and switch between them easily.
If you will face with this error
source: no such file or directory: /Users/username/.zshrctry this commands
touch ~/.zshrc

cat <<'EOF' >> ~/.zshrc
export NVM_DIR="$HOME/.nvm"
# Load nvm
[ -s "$(brew --prefix nvm)/nvm.sh" ] && . "$(brew --prefix nvm)/nvm.sh"
# (Optional) tab-completion
[ -s "$(brew --prefix nvm)/etc/bash_completion.d/nvm" ] && . "$(brew --prefix nvm)/etc/bash_completion.d/nvm"
EOF
and reload your shell
exec zsh
# or:
source ~/.zshrc
Basic NVM Commands Every Developer Should Know
Once NVM is installed, learning a few basic commands will help you get the most out of it. These commands are essential for everyday development and will save you time when moving between projects.
| Command | Description |
|---|---|
nvm install 20 | Installs Node.js version 20. You can replace 20 with any version number. |
nvm use 18 | Switches your active Node.js version to 18. This is useful when working on older projects. |
nvm ls | Lists all Node.js versions installed on your system, making it easy to see what’s available. |
nvm alias default 20 | Sets Node.js version 20 as the default version whenever you open a new terminal session. |
node -v | Displays the currently active Node.js version so you can confirm you’re using the right one. |
In practice, many Australian developers also add a .nvmrc file to their project folder that specifies the required Node.js version. When you run nvm use inside the folder, it will automatically switch to the version listed in the file. This is a handy way to ensure everyone on your team is using the same version of Node.js.